Emily has been wanting to make butter since last week. Don't ask me why she had this sudden urge to make homemade butter when she shouldn't even eat dairy but she's been hinting, nudging, short of hanging a huge billboard in the kitchen, that she wants to make homemade butter. I think she just wanted to see liquid state turn into solid state as a scientific experiment.
Yes, she's taking Chemistry this year. Or maybe she just misses her Play-Doh. You'll see in a minute.

Nope. Instead, I want her to become independent, self-reliant, self-sufficient, resourceful, and strong when she grows up.
Wait a minute. That IS being a homesteader! Duh. What was I thinking?
Well, anyway, while I was trying to convince her that she is slightly allergic to dairy and butter is not exactly our staple food that we need, this article about making butter came to my inbox a few days ago. Drat! And it looks so easy and it doesn't look that messy to make! Heck, if pre-schoolers can do it, why not?
So during the snow day yesterday, we made butter.
Ingredients:
- Heavy Cream (or whipped heavy cream) We used the regular hardcore Heavy Cream for the full spectrum of experience. (Nope. Hubs just grabbed the first Heavy Cream he saw on the shelf.) Organic is preferable . Also, just know that you will end up with half the amount of heavy cream as butter.
- Hand Mixer or Blender
- Strainer or cheesecloth
- Glass bowl or jar to store butter
Equipment:
There are as many directions as the types of butter you can make. There is the good old, shake, shake, and shake method as described in Craftzine but it takes 15 minutes or more of shaking and requires very strong arms and "War and Peace", unabridged version to keep your mind off from what you are doing. And there is more modern method of using a Cuisineart, without using butter churning machines but that's only practical if you are making butter for the week.
And then, there is the hand-held mixer method that we used since we were making just one cup. All of them will work because all you are trying to do is to make the fat molecules in the heavy cream to coagulate and bind together and squeeze out the liquid, which is buttermilk, leaving you with solid butter in the end.
It's Chemistry 101 all over again. Yeee Peee!!!
Memories of buns and burners, foul smelling sulfur, charred hair....never mind. Wrong experiment.
Back to butter. Here are the stages that you'll see, no matter what method you use.
Directions:
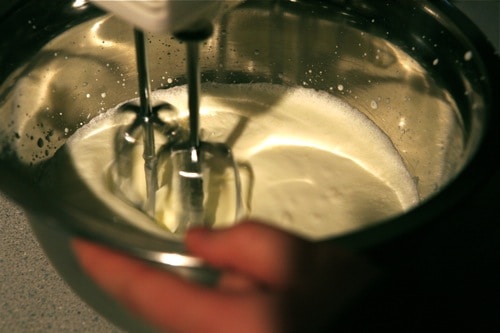
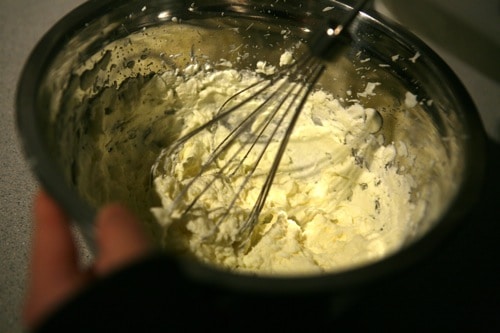
Pour the heavy cream in a stainless steel bowl and whip it using a whisk attachment. Don't use the one that you see in this picture. We couldn't locate our whisk so we started out with these. "Do as I say, not as I do." Sound familiar?
At first, you'll see this slushy mixture in the beginning.
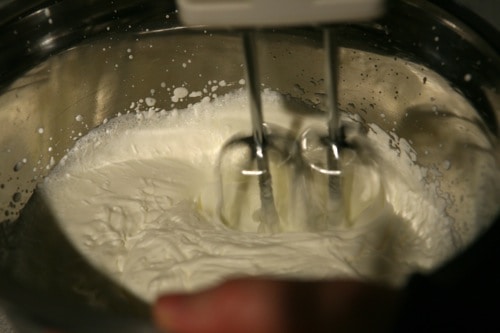
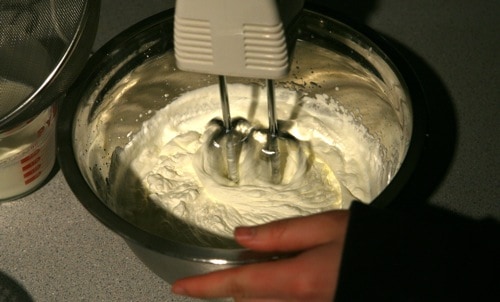
I think we're getting close! I see clumps of butter in its yellowish glory! Be careful when celebrating because this is when little bits and piece of butter will fly all over and possibly land on places that you can't clean and you'll cuss. At me, no doubt. 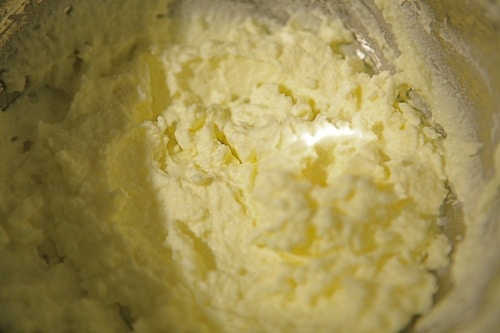
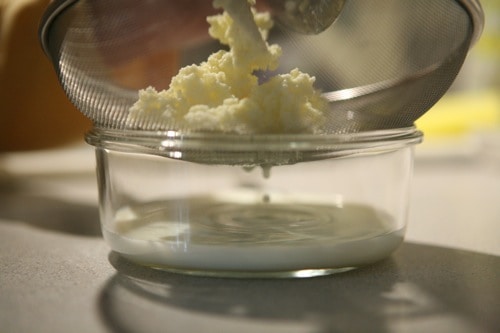
Yup! it's buttermilk!
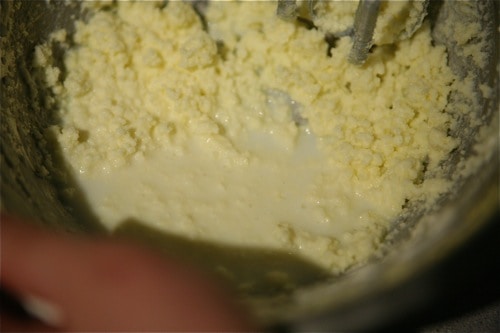
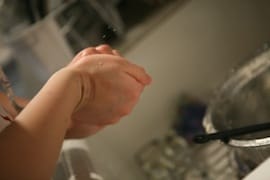
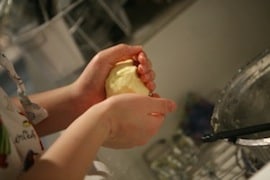
Then what Emily did was take the solids and ran it under cold water and squeezed the butterball some more to get the liquids out. Play-Doh time! Told you she might be missing her Play-Doh.
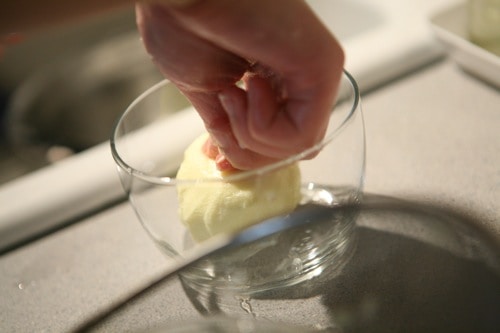
But you can't do this too long as your warm hands will make the butter melt in your hands. But once all the liquid is squeezed out as much as you can, you'll be left with....butterball ready to be stored.
Butter with buttermilk ready to be used up!
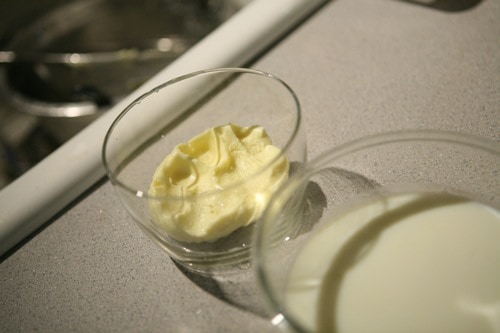
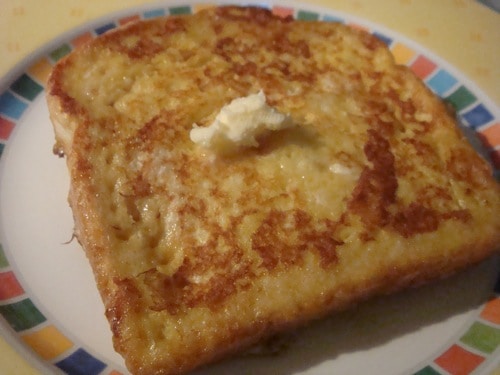
And very tasty!! Hope you'll try making your own.
My next versions will be with some strawberries, sliced up spicy peppers, apple pieces, and may be even mango.
Woo hoot! Possibilities are endless! Now I can truly say I spent the day churning butter without actually churning butter! Boy, I wish I listened to Emily earlier! She's so smart!
~from your homesteader greenie and her daughter~
Laura Ingalls has nothing on me...or Emily 🙂

erin, maker of chimes says
Very cool! My mom milks her goats and uses the extra for making soap, but when they first started thinking of building a dairy on the farm daddy made some cheeses. We've talked about using the antique butter churns and molds sitting around the barn as decorations to make butter but haven't given it a try yet. Hopefully we won't have the wait for the dairy to be built, but such is busy farm life!
Erin from Long Island says
how cool! I am always meaning to do this, but I never do. I am glad it was a success!
vicki says
I love it! We lived on a farm for about 5 years when I was a kid and we regularly made our own butter using the "shake in a quart jar" method. We would put it in the yellow tupperware strainer/colander to squeeze out the buttermilk. 🙂
Karen says
Apparently, that's what elementary school kids do in class to learn Science....which I never got to do. But now I am. 🙂
Jennifer says
I totally remember shaking a jar of butter with my 1st grade class until it solidified! Never tried to make it though...and actually never knew what buttermilk really was. I tried making my own pasta and bread this week, with partial success. (Pasta was good, bread wasn't.) Deep within my suburbanite being, I might be beginning to see some glimmerings of homesteader...
Karen says
My SIL bought me a bread maker years ago and we used to make bread a lot but had to stop because we were eating way too much bread!! I never made it in the oven though. That probably takes too much time. But fun, I'm sure. I'd love to make fresh pasta one of these days. I have a Kitchen Aid and I think I can buy the attachment to make pasta too. Just never bought it.
Homesteading does take time but in the end, it's all worth it. With all the crap that's in foods that we buy, at least we know what's in the stuff we make at home.
Jennifer says
You can actually make pasta without any special equipment at all -- just a little muscle! (OK, maybe more than a little. Rolling the dough out did a number on my wimpy arms.) I rolled out the dough on a wooden cutting board and then cut it into thin ribbons with a sharp knife. The resulting noodles were marvelously chewy and flavorful and cooked in about two minutes flat.
Karen says
Well, that's how the Chinese make noodles, right? No fancy Kitchen Aid necessary. So true.
Debbi says
This is awesome! I'm going to have to try this with my kiddos. TFS!
Karen says
It is a fun project to do. One thing you can do with kiddos is to put the Heavy Cream in a nice and tight plastic tub and tell them to shake it.....for like 15 minutes..and watch it turn into butter. They'll love it! Have fun!
Oh, and thanks for posting on your blog about the giveaway! Good Luck!!