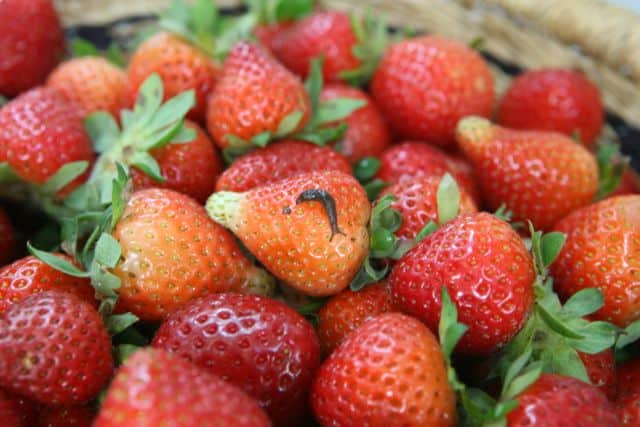
We went strawberries picking last weekend at one of our favorite "Ecological Pick Your Fruit" farms, Fishkill Farm. As you can tell from the little friend that tagged along home, these were organic, free of pesticides. We love this farm because they use minimal chemicals, if not, all organic. These strawberries were $4.99 a quart and some were not quite ready yet since it was still early in the season but there were enough ripen ones for us to bring home 2 quarts.
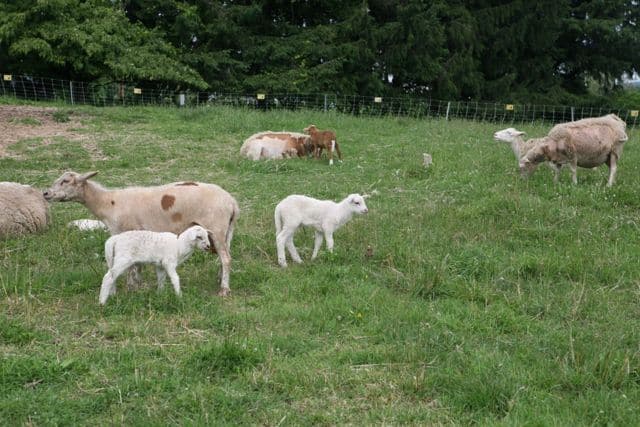
Oh, we also saw these cutie patooties that were born two weeks ago at the farm.
So how do we enjoy them longer than the short strawberry season? Make them into preserves, of course.
Now, I have to admit, I've never made strawberry preserves nor have I ventured into the canning realm of homesteading life. Canning sounds just so tedious and messy. Every time I read someone describing the aftermath of a tomato or peach canning season, it just made me stay the hell away from it as far as possible. All that equipment. All that cleaning. No. Thank. You! I'll just run down the tomato sauce aisle at the supermarket for my occasional needs, thank you very much.
And not to mention BPA in canning lids. That reason alone just about made good enough excuse NOT to learn to can.
Then, Tattler sent me two sets of Reusable BPA-free canning lids to try. Damn you Tattler! You just spoiled my laziness, I mean, practical reasons for not canning. Granted that they are made with #7 plastic, but they are reusable and BPA-Free!
So with all these hand-picked red organic strawberries, and the BPA-free canning lids staring at me, I had to try it. I'm a sucker, what can I tell ya? Besides, I was getting tired of paying oodles of money - $10 per 18 oz jar - for Sarabeth's preserves - the only kind we like because it's filled with pieces of whole strawberries and it's not too sweet. But it's not organic. Soooo~I got industrious one evening.
After warning, ok, screaming at the slimy guy - "You bettah not eat the greens in my garden or I'm coming after you! - I released him in my garden, with his strawberry.
I rinsed the rest of the berries with my fruit wash and I went to work.
Adventures of canning strawberry preserves
This is more like the "lessons I learned" from my first experience of being the "Suzy homemaker" of fruit preserves and the canning world, rather than a "recipe."
First of all, do you know the difference between a jam, preserves, jelly, marmalade? I tend to interchange these terms at will without a specific reference to any particular one over the other but apparently, there are distinct differences between them. You can read about it here. So although I thought I made strawberry preserves, I might have made jam. But whatever. Preserves sound more sophisticated so I'm calling it preserves. You can call it whatever you'd like.
Here we go.
Some tips before we start. Now, you know that I'm not an expert canner so you can Google "how to can" or go to Tattler's or Ball's website and they'll tell you their expert advice. These tips are what I observed from my own experience.
1. Make coffee before you start. Doesn't add any more bright methodology to the preserves making but it'll keep you on your toes during the process. And when you are done with cooking the strawberries and sugar, whirl your coffee in the pot, and drink your coffee with strawberry syrup. You can't let all that strawberry/sugar goodness that is stuck to the side of the pot go to waste!
2. Use pectin. You'll need it. I didn't think I'd need it - what do I know? - so at first, I just boiled some strawberries and added copious amount of sugar, thinking it'll just jell from the sugar. Well, it didn't jell and I had to run to Whole Foods and pick up a pack ($4.29). There goes my stubborn ways of thinking, "I don't need to follow a recipe. I can do this my way.". Yeah, not so much. It became like a liquified, thick, fruit compote than preserves.
3. Add pectin before you boil. Pectin acts like gelatin or cornstarch. It makes everything lumpy. So add pectin to cold water you'll be using and try to get the lumps out as much as you can. If there any lumps left over, they will melt once you start boiling your fruit. See the lumps I discovered after I added pectin to boiling fruit? Bad news.
4. You don't need a fancy canning equipment. Yes, it will help you if you are going to be a canning-extraordinaire and can every fruit and veggies you grow. But if you are an occasional canner like me, you can just use a huge pot, some good tongs, and oven mitts. Don't let fancy equipment- or lack thereof - scare you from canning your farmer's market bounty. And if you get addicted to canning - like I just might - then, you can invest in some great stainless steel canner like this set. Even if you don't buy this set, make sure you buy a good quality set that is made of stainless steel, especially the rack. I heard it can rust easily and you'll regret it buying a cheap set. Remember, you get what you pay for.
5. Use reusable canning lids. Period. Canning lids are lined with BPA and especially when you boil them to sterilize, it'll contaminate the jars and the rest of the equipment. So throw away the lids that come with mason jars and invest in these reusable ones. First, you'll reuse them so you'll never have to buy another set. And they are BPA-free.
Strawberry Preserves
- 4 C Organic Strawberries
- 1 C Organic Sugar
- 2 teaspoon pectin
- 2 teaspoon of calcium water (comes with pectin package)
- 1-2 C Cold Water
- Large Pot, Tongs, 2 12oz Mason Jars with BPA-Free Reusable Canning Lids and rings.
Makes (2+) 12 oz jars of strawberry preserves.
Instruction
1. Mix calcium powder with cold water as per instruction and set aside.
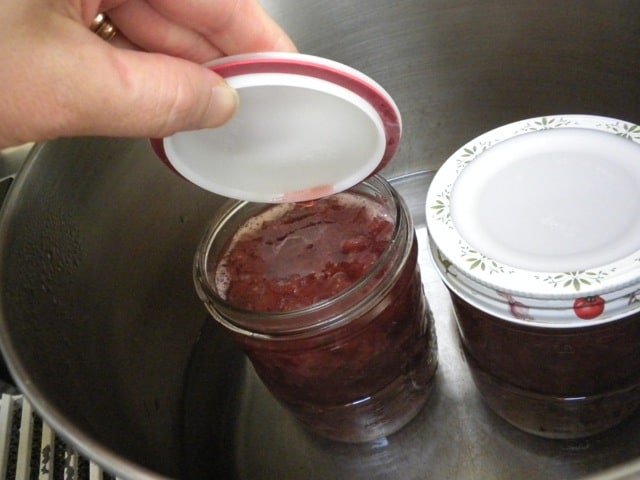
2. Sterilize the jars and the rings in the pot in boiling water. Scald the plastic reusable lids and the rubber rings for a couple of seconds and take them out. 
4. Add pectin to cold water and dissolve the powder. If there are little bits of lumps, that's ok but more you try to dissolve when it's cold, the better.
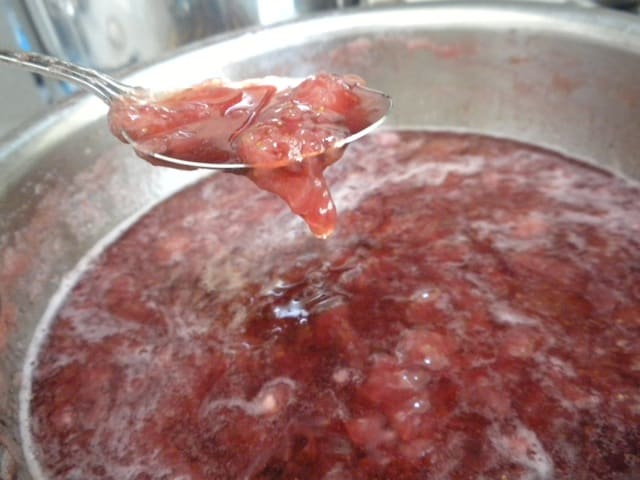
5. Add the strawberries, pectin, sugar, and water and boil until strawberries are soft. Lower the heat and simmer for about ten minutes. Mash the fruit a bit. I used a mash potato masher and it worked great! See how syrupy and lumpy it is? When the fruit is soft and falls apart, it's done!
Now you are ready to put it in the jar....not your mouth! But if you do, be careful. It's HOT! DOn't ask me how I know.
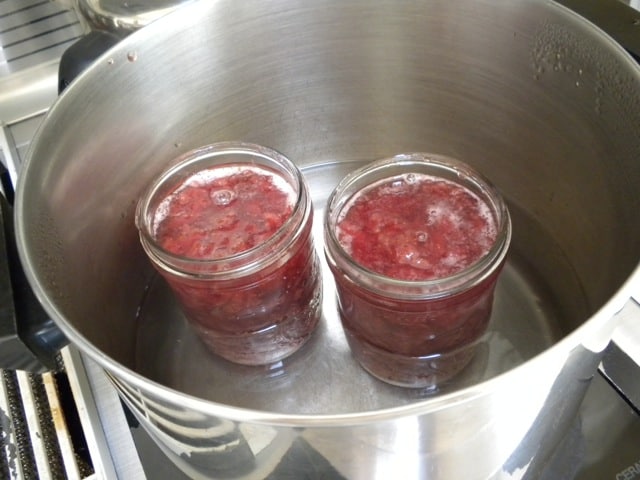
5. While the jars are still bathing in the hot water, carefully ladle the preserves in the jar. Didn't I do a great job of being neat? What is wrong with all those women who complained that they made a mess! It was a cinch to keep it neat!
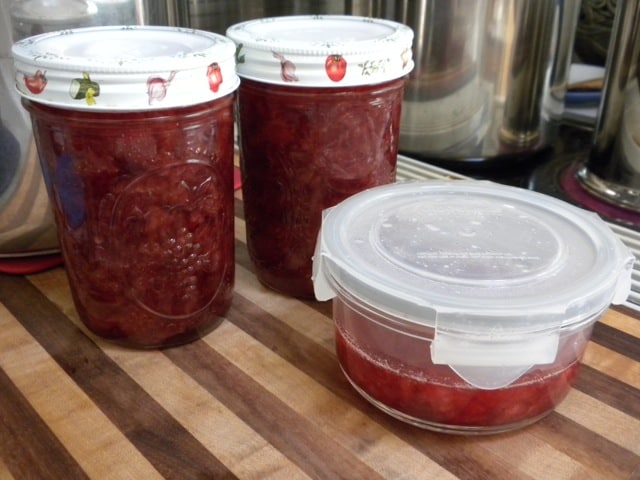
Make sure you don't top the jars. Leave some room, especially if you are going to freeze them.....although I don't recommend freezing preserves, I heard you can. After you fill them, wipe off the mouth of the jars and you are ready to put the lids on. I filled the two jars and put some in a glass container as my tester to check later to see if it's jelled. If it's not jelled, you have to repeat the process with a little more pectin. If it's too hard, then, you can add more water and repeat.
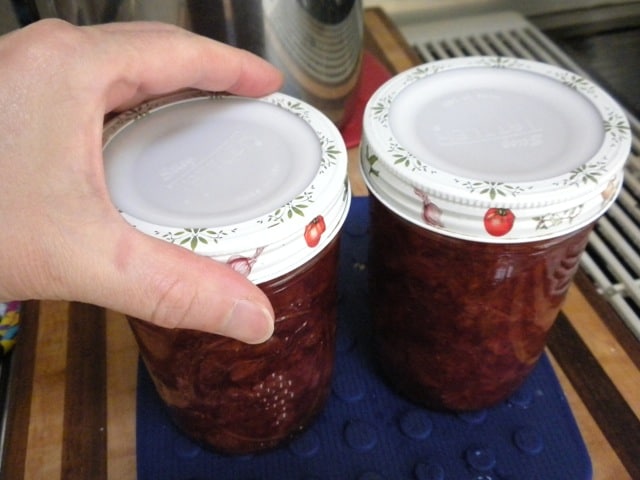
6. To close, put the lid with the rubber rings on top carefully. Then, put the outer rings on while holding down the lid with the other hand but DON'T TIGHTEN them yet. Just close them snugly.
7. Leave the jars in the pot for a few minutes and pray that preserves jelled. Then, take them out and tighten the lids and let them cool on the counter. When they are completely cool, put them in the refrigerator to cool completely. When they are cooled, try to lift the lid. If' canning worked, you can't pop the lid easily.
Ta Dah! I made jam, I mean, preserves, or whatever. I canned!! Now I can can!!
Of course, if you are planning to eat them right away like I just might, you don't have to worry about canning them. But once you open the canning seal, it's good for 3 months in the refrigerator.
And it wasn't as painful as I thought! See all those whole fruit chunks?
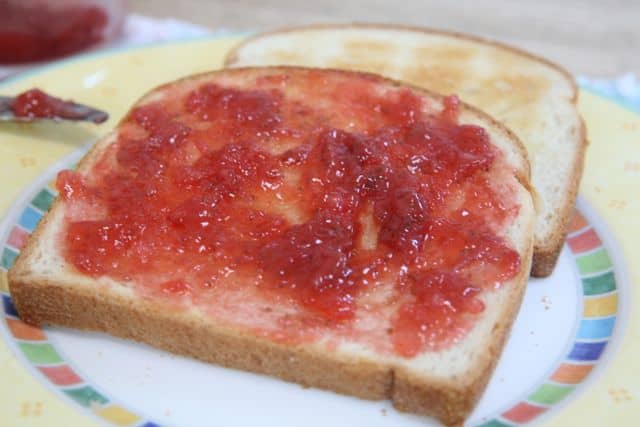
And look how glorious it looks on my toast!
I know it might seem trivial but I am feeling all-powerful right now. And white toast is one of those rare treats that I save for special occasions to go with very special toppings like homemade organic strawberry preserves.
I don't know if I left out anything in this instruction but I was dying to show you how I canned and made strawberry preserves in one post so let me know if anything doesn't make sense. I just need to make another toast for lunch. I think I'll serve it with dinner tonight too.
*You can buy glass BPA Free canning jars and lids from Weck Jars too.





Kathy says
Oh Karen, you crack me up! Your posts are so filled with adventure! Your jam, excuse me, preserves looks faaaaabuuuuloous!
ecokaren says
Ha ha...Thanks Kathy!
My jam/preserves does taste awesome...and not because *I* made it but because it's "homemade" with only 3 ingredients!
Cheryl says
What a fun and informative post! I had no idea that canning lids had BPA in them. Thanks for the info. I'll be looking into getting some of those lids and trying canning for myself. I've put it off for the same reasons....it seemed like so much work! But, your post made it look fun. And, I love the idea of making food that is organic, I know everything that's in it, and it's BPA free. I'm so tired of finding out more things BPA is in. I wish they would ban it all together! Enjoy your preserves! 🙂
ecokaren says
I know what you mean by being tired about BPA being in everything. Who would think that canning your own food would be dangerous your health? It's nuts. But at least there are alternatives, even if it's not the best...Tattler lids being plastic and all. But at least we'll use them for a long time.
You should definitely try canning. Start with easy ones, like preserves. Not too many ingredients and not too messy. It really was easy.
And it's really really delicious!
Diana says
I agree with adding the vanilla bean, it just amps it up a notch. I have a few lids to try out myself.
Rachel says
Hi Karen-YUM! Congrats on tackling canning. You will soon be addicted like me. I highly recommend a strawberry-vanilla bean combo (mascerate chopped strawberries with beans & seeds overnight-recipe from foodinjars blog). I stocked up on a bunch of Tattler lids for this canning season. Enjoy your jam!
ecokaren says
Rachel,
Vanilla beans and strawberries sound heavenly! I'll try that combo next time.
You are right; I think I am going to be addicted to canning now that I've discovered how easy it is!
Kimberly at Rubber Chicken Madness says
I had no idea canning jars had BPA in them. Thanks for sharing that little nugget of wisdom -- and your preserves look divine!
ecokaren says
Thanks Kimberly!
Yes, metal canning lids are just like the canned foods. Metal needs something to protect the food from and they use BPA for the lining. I liked the ones Tattler sent me but they are made with plastic so if I was to buy more canning jars and lids, I'd opt with Weck glass jars and lids.
Someone just told me that a German company makes metal lids but I don't think I'd buy them since they are not so local.